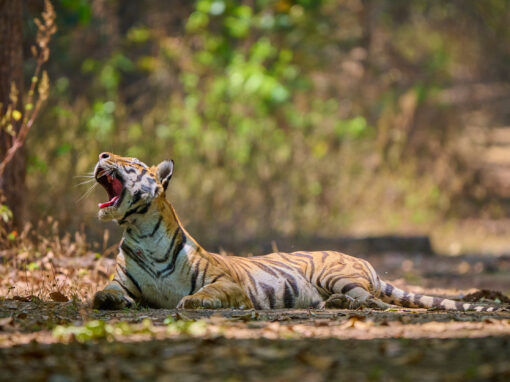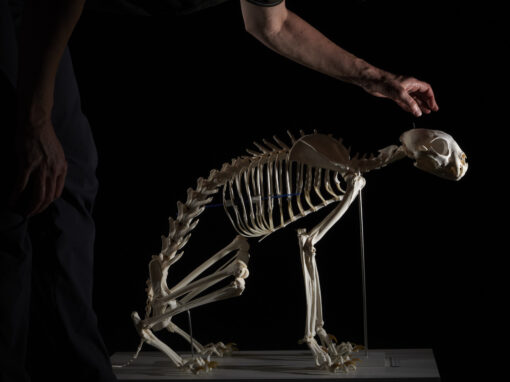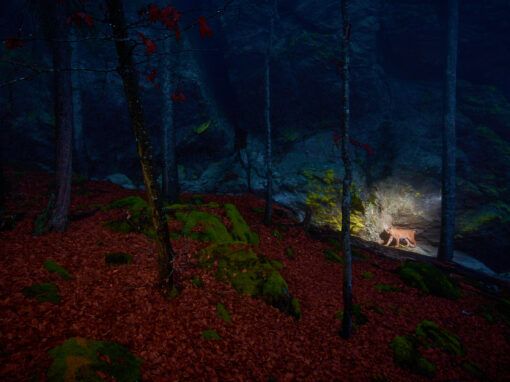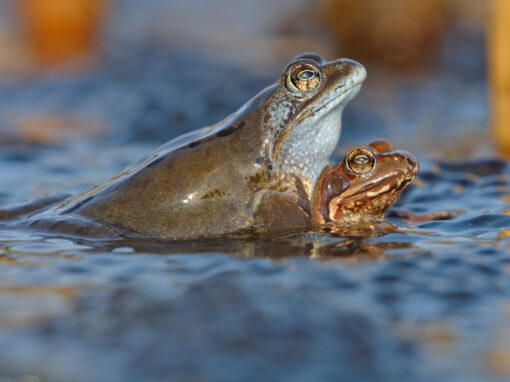


When I started with nature photography, I thought the main thing was to hold the camera and take a sharp, correctly exposed picture that wasn't too noisy. But I soon realized that without good image composition in nature photography, even the most beautiful subjects look flat.
Perhaps you have already experienced this: the landscape is breathtaking, but the photo afterwards is rather disappointing. The difference lies in the composition.
In this article, I'll show you the most important design rules for photography and simple photography tips for beginners that you can use to improve your nature photos immediately - without any expensive equipment, but with a trained eye.
Basic principles of image composition in photography
Image composition in nature photography does not follow a rigid set of rules - there is no obligation as to what a good photo should look like. However, some principles have proven their worth because they help the viewer to "read" an image more easily, making it appear more exciting or harmonious. I'll explain the most important ones so that you can understand them even if you've never consciously thought about image composition before.
Proportions: Rule of thirds and the golden ratio
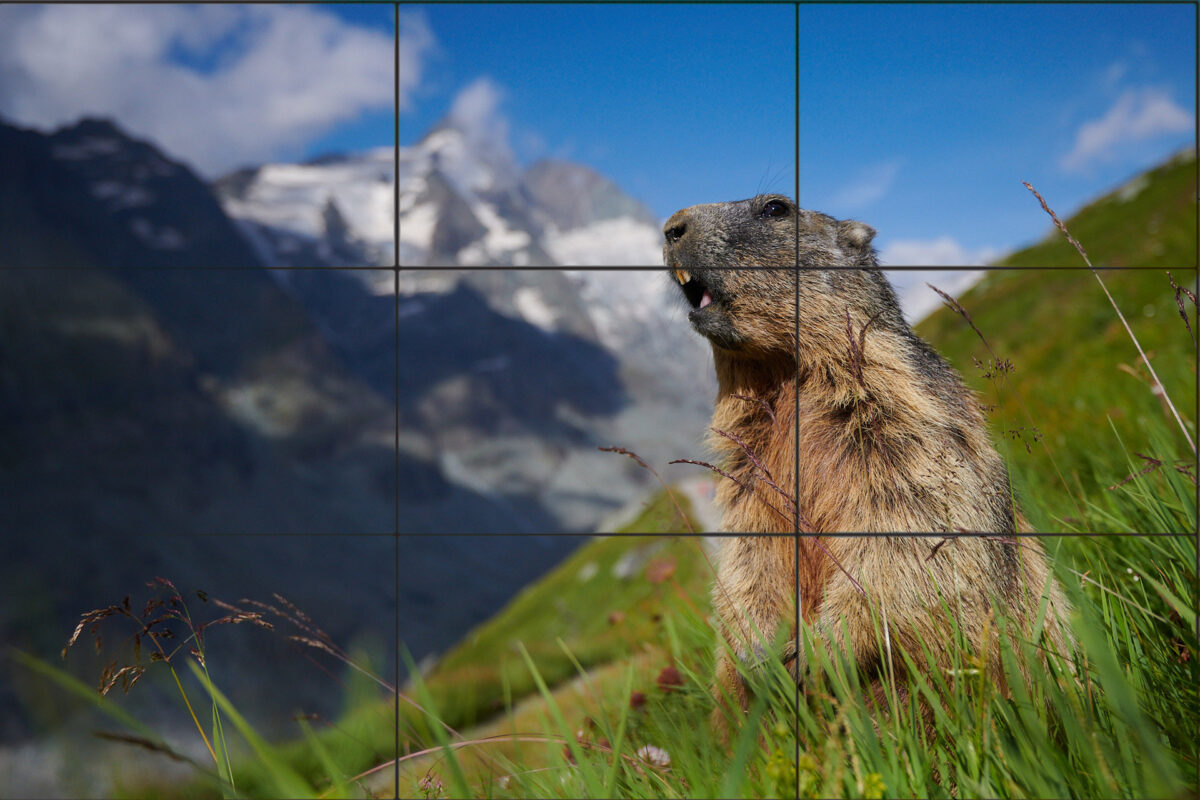
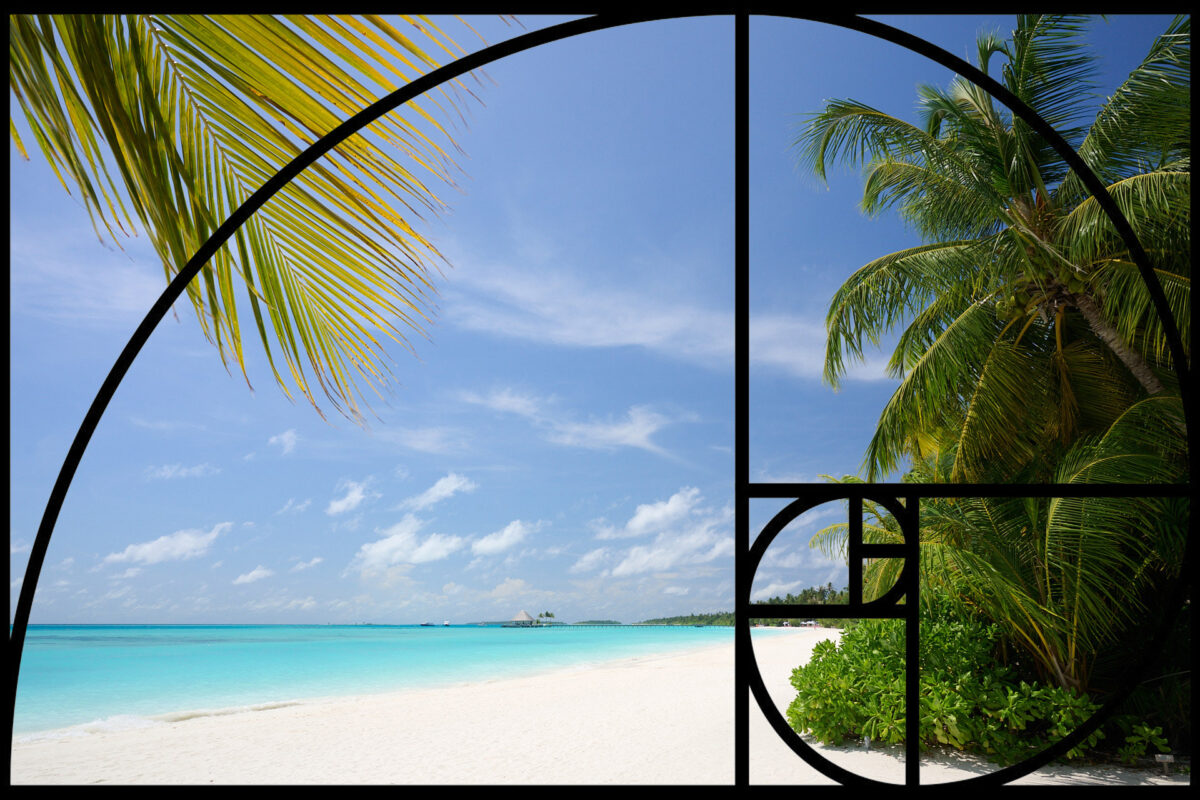
You may have heard of the "golden ratio". It originally comes from art and describes a division that our eyes find particularly pleasing. Photography has simplified this - to the so-called rule of thirds. This involves mentally dividing your image into nine equally sized boxes (two lines horizontally, two lines vertically). Instead of placing your subject exactly in the middle, you place it slightly offset - on one of these lines or intersections.
This works better because the eye loves variety. A tree right in the middle quickly looks boring. If, on the other hand, you place it in the left third, there is space for the landscape on the right and the photo looks more exciting. For you as a beginner, this means: deliberately place your subject slightly off-center. You will immediately see how lively your picture looks.
Surfaces in the picture
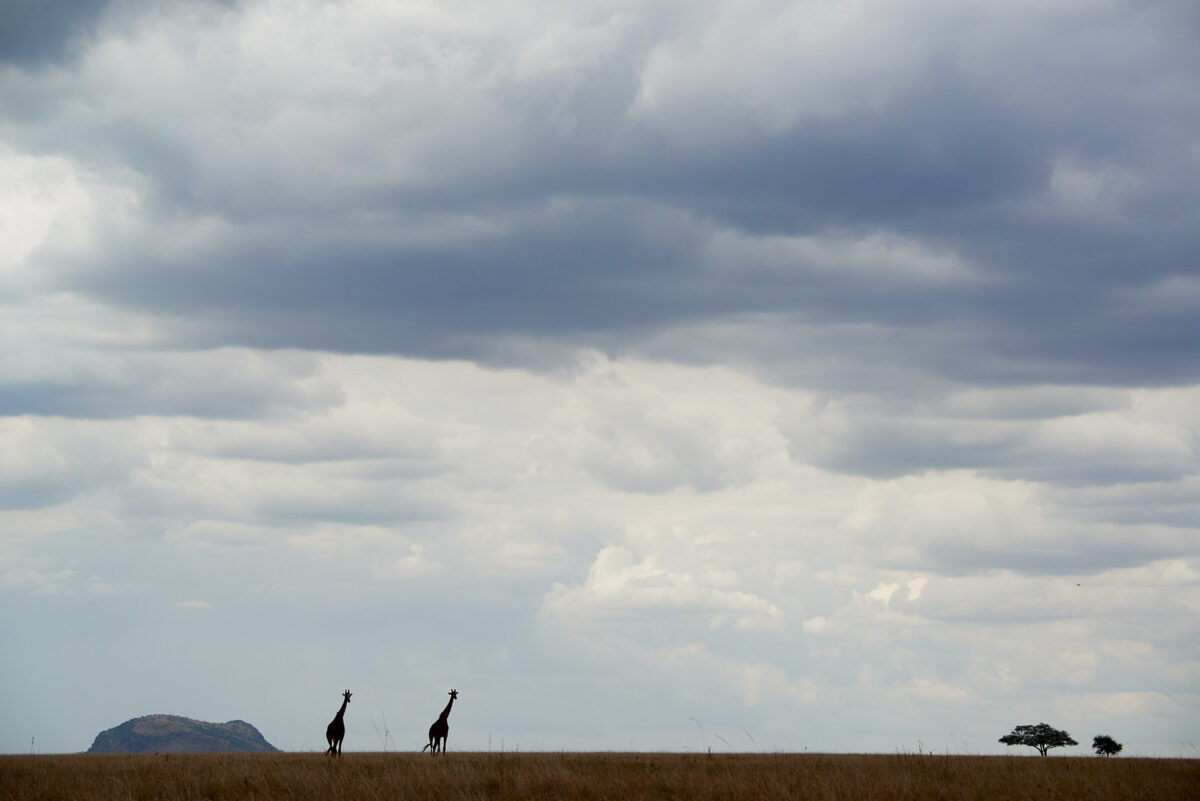
In addition to lines, surfaces also play an important role. This refers to larger areas in the photo, such as the sky, a meadow, a lake or a rock. Surfaces can calm or create tension - depending on how you use them.
- Large, calm surfaces such as the sky or water give the motif space. They allow it to "breathe" and have a calming effect.
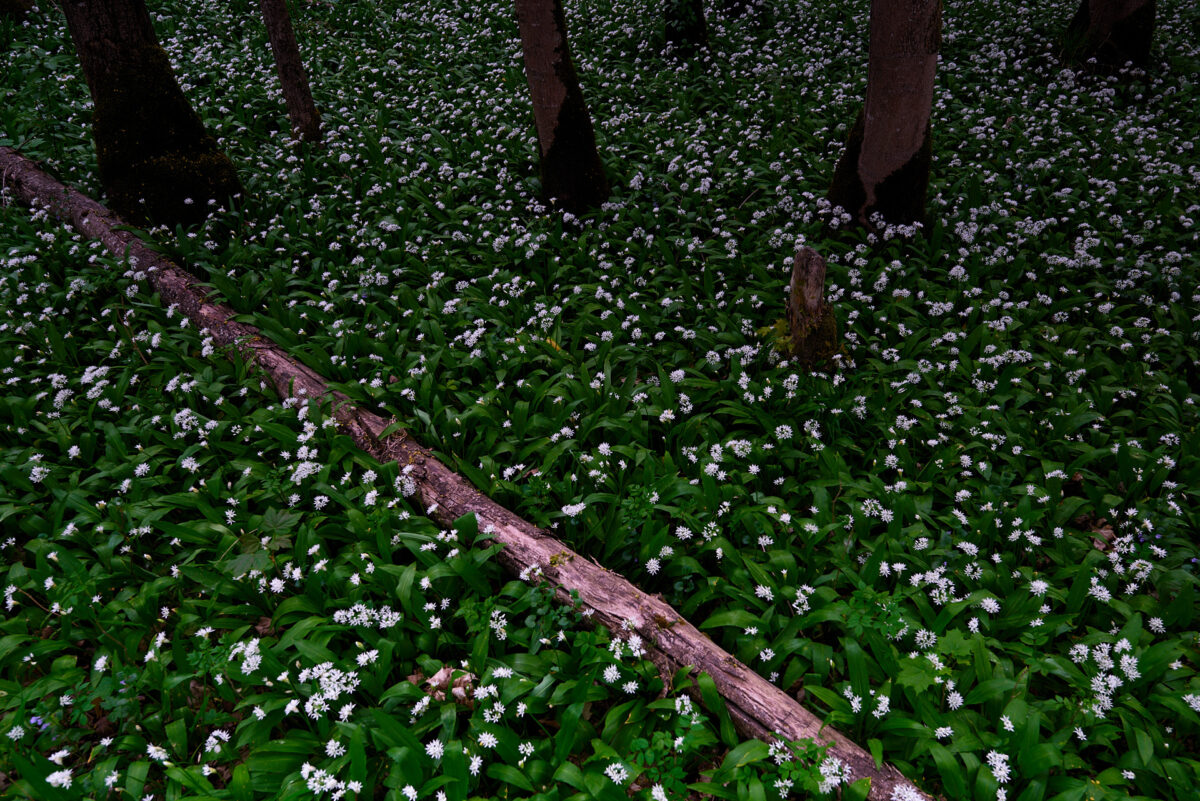
- Structured areas such as a forest full of trees or a flower meadow can bring movement into the picture because they occupy the eye with many details.
That's why I always pay attention when I'm taking photos: Which area dominates the picture? Is there too much sky? Is it a dense forest? And does it match the mood I want to show?

Fototouren & Workshops
Komm mit raus.
Gemeinsam verfeinern wir deine fotografischen Fähigkeiten — in kleinen Gruppen, mitten in der Wildnis. Sichere dir deinen Platz und entdecke die Magie von Licht und Natur neu.
Kleine Gruppen · 20+ Jahre Erfahrung
Points in the picture
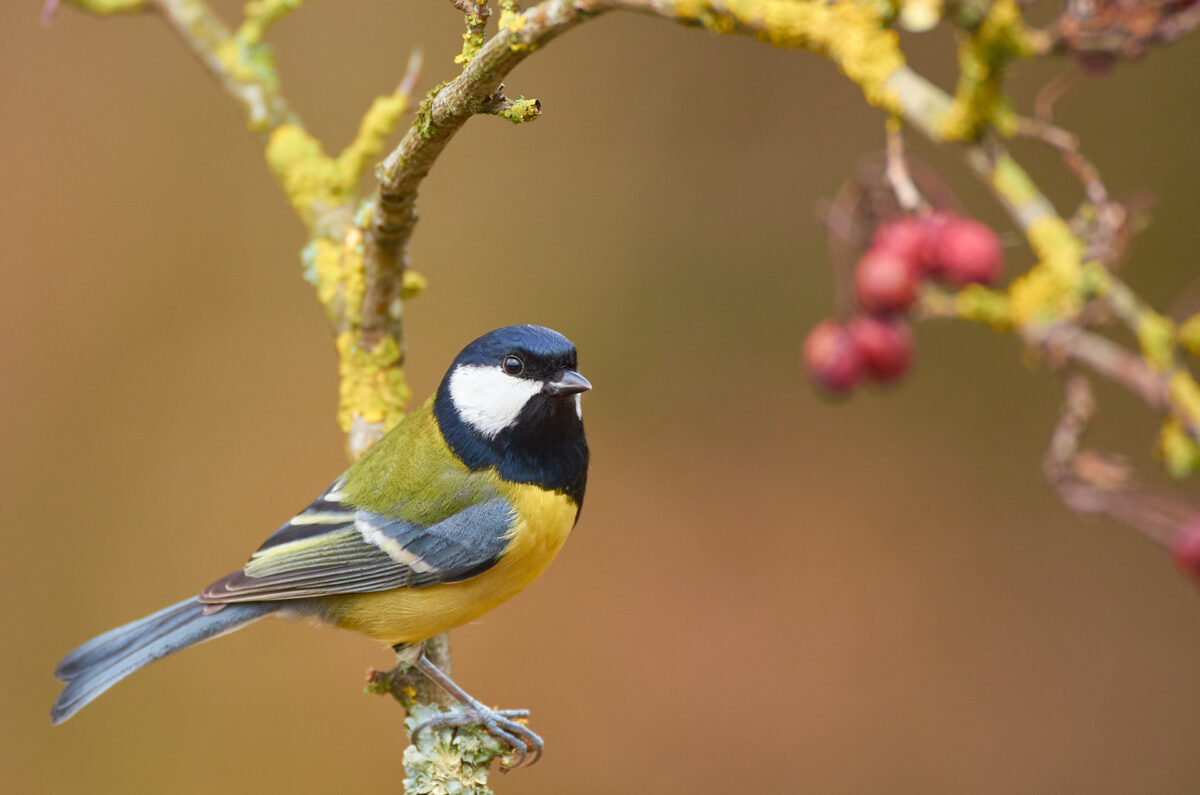
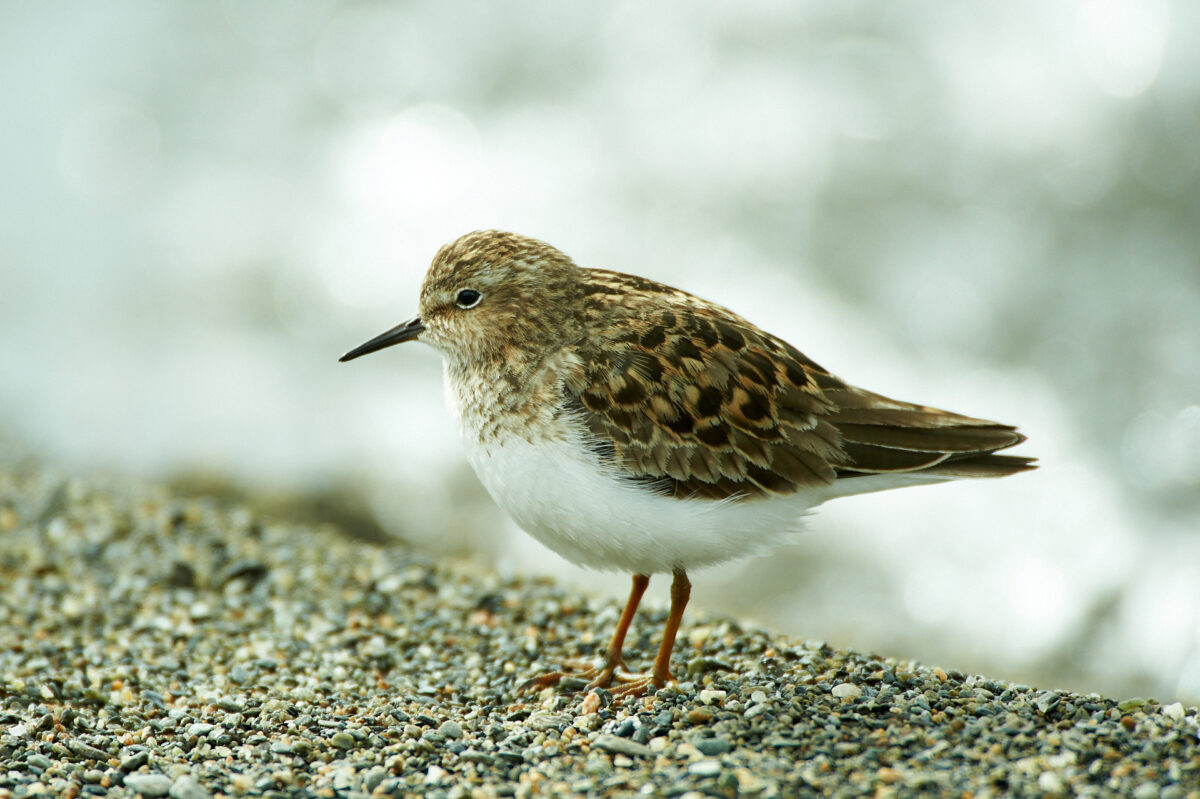
In addition to lines and surfaces, there are also dots in image design theory. A dot does not have to be literally small - it can also be a single, clearly recognizable motif: a bird on a branch, a boat on the lake or a person in a vast landscape.
The exciting thing is that our eyes automatically search for such points. It gets stuck there, even if there is a lot going on around it. So if you deliberately place a "dot" in your picture - in an interesting place (e.g. according to the rule of thirds) - your photo will immediately become clearer.
A tip from my practice: Ask yourself the question: "Where do you look first when you see this photo?" - If the answer is not clear, your picture may be missing a clear point.
Line routing - ascending, descending and diagonal
Lines are one of the most powerful tools in image composition for nature photography. They do not always have to be actually visible - the arrangement of elements can also result in a line. The eye follows these structures automatically.
- Ascending lines: If a line in the picture leads upwards (e.g. a path running up to a mountain peak), the picture often appears hopeful, optimistic and dynamic. It conveys upward movement and draws the eye upwards.
- Descending lines: If lines lead downwards (e.g. a stream flowing down a slope), a calmer or even melancholic mood is often created. Such compositions are well suited to expressing thoughtfulness or serenity.
- Horizontal lines: they convey calm and stability. A straight horizon over a lake or sea radiates serenity. I like to use horizontal lines when I want to show a peaceful, expansive mood.
- Vertical lines: Tree trunks, rocks or waterfalls that structure the picture in height appear powerful and monumental. They emphasize strength and steadfastness.
- Diagonal lines: they add excitement to the photo. A path that runs diagonally through the picture or a branch that protrudes diagonally into the subject creates a dynamic and exciting effect. Diagonals are ideal for emphasizing movement or drama.
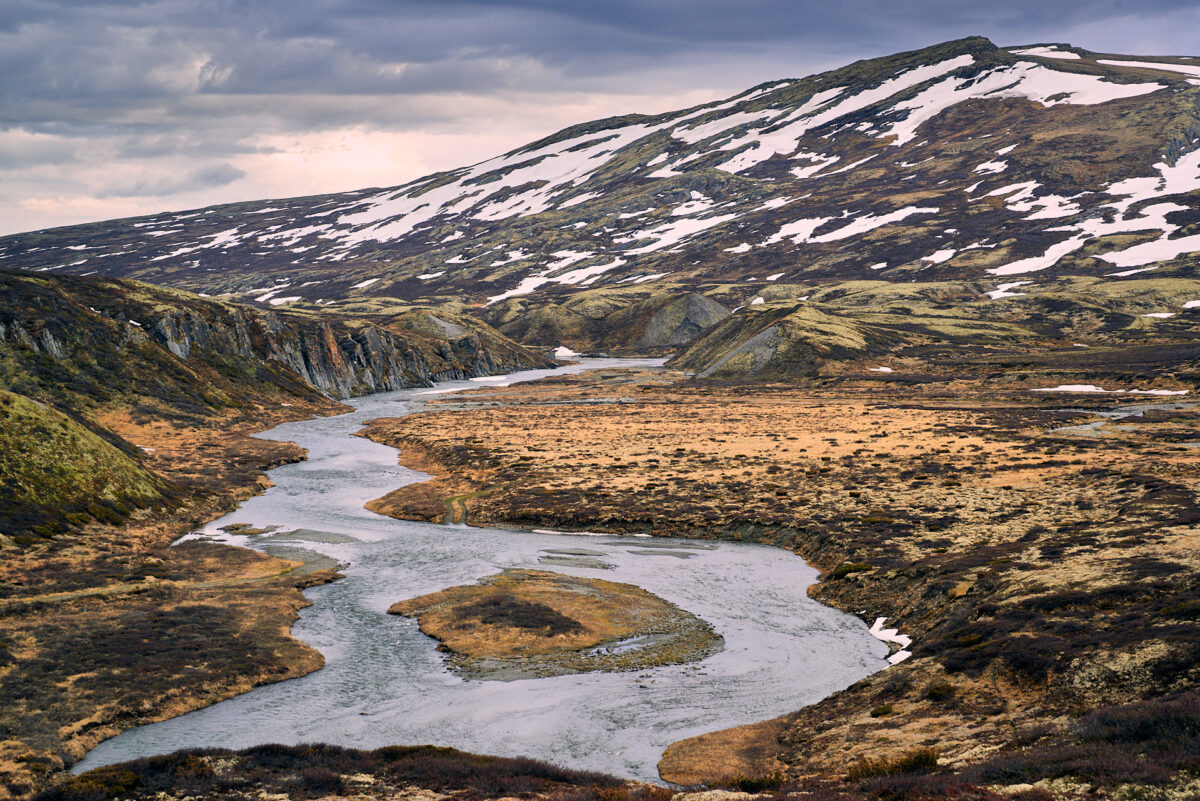
- Curves and S-lines: The "S-line" is particularly popular - such as a curved river or a path winding through the landscape. It playfully guides the eye through the picture and creates harmony.
Practical tip: Pay attention to where your lines lead when setting them up. Ideally, they should lead the eye into the picture or directly to the main subject. Lines that lead the eye "out", on the other hand, quickly make a photo look unsteady or incomplete.
Negative space - the power of emptiness
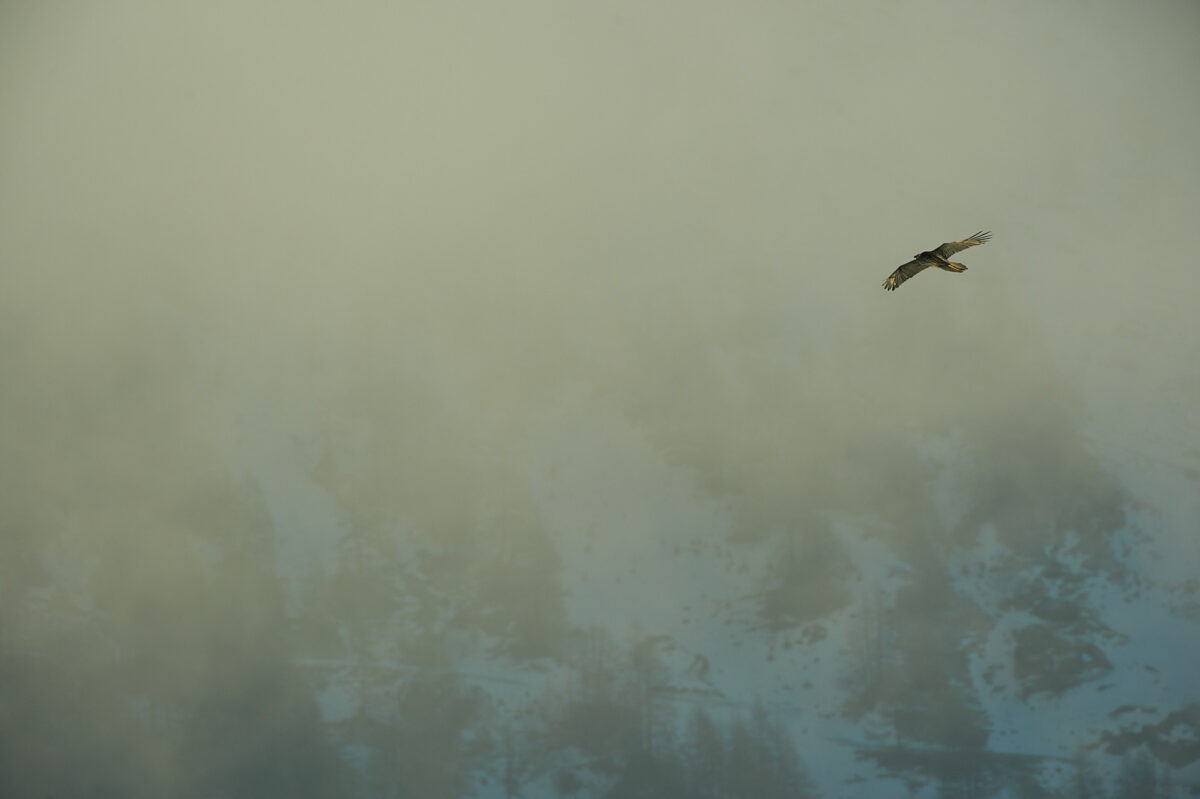
Negative space does not mean that your picture is empty or incomplete. On the contrary: it is a deliberately used stylistic device that gives your motif more meaning. This refers to the areas in the picture that are not directly filled with details - for example, a clear sky, an expanse of water or an area of snow.
- The effect of free space: Imagine you are photographing a single bird in the sky. If you leave the sky large in the picture, the bird appears small and vulnerable - a picture about vastness or loneliness. If you don't fill in the sky but zoom in, the picture loses this effect.
- Tension through emptiness: A single tree in a large meadow or a stone in a calm expanse of water has a stronger effect if there is a lot of free space around it. The eye automatically focuses on the main motif.
- Balance in the picture: Negative space provides calm and balance. If one part of the image is very rich in detail, an open space on the other side helps to bring the photo back into balance.
As a beginner, I often had the feeling that I had to fill the "empty" areas so that the picture didn't look boring. Today, I consciously use precisely this emptiness because it makes motifs appear clearer and more powerful. Sometimes less really is more.

Directing the viewer's gaze
A photo always tells a story - and you decide how the viewer reads it. In my early years, I often just held it up and hoped that the picture would look interesting. Today I take a different approach: Before I release the shutter, I think about how the viewer's gaze should wander through the photo.
- Leading lines: Roads, paths or rivers are perfect tools for drawing the eye into the picture. They have a particularly strong effect when they lead to the main subject - such as a path that leads directly to a tree or a person.
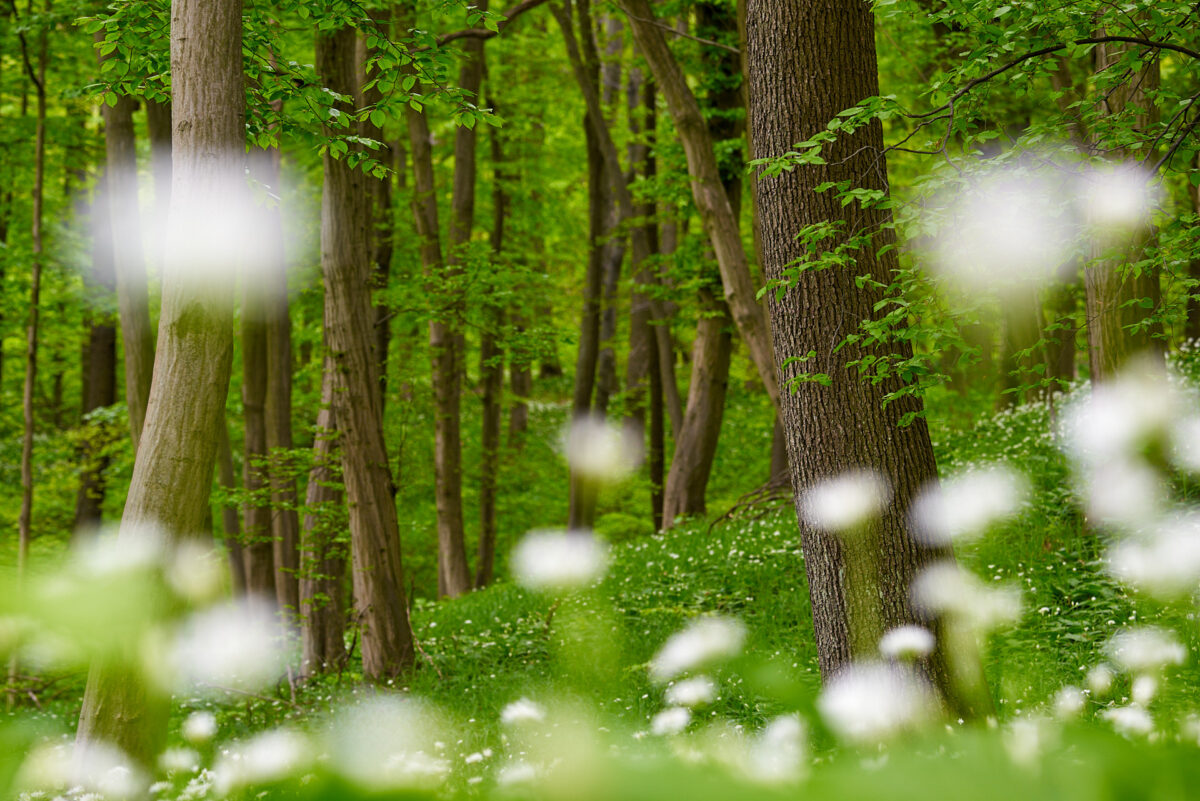
- Natural frames: A branch, a rock arch or even shadows in the foreground can act as a frame. I like to use this for animal photography: if a deer is standing between two trees, the picture immediately has more depth.
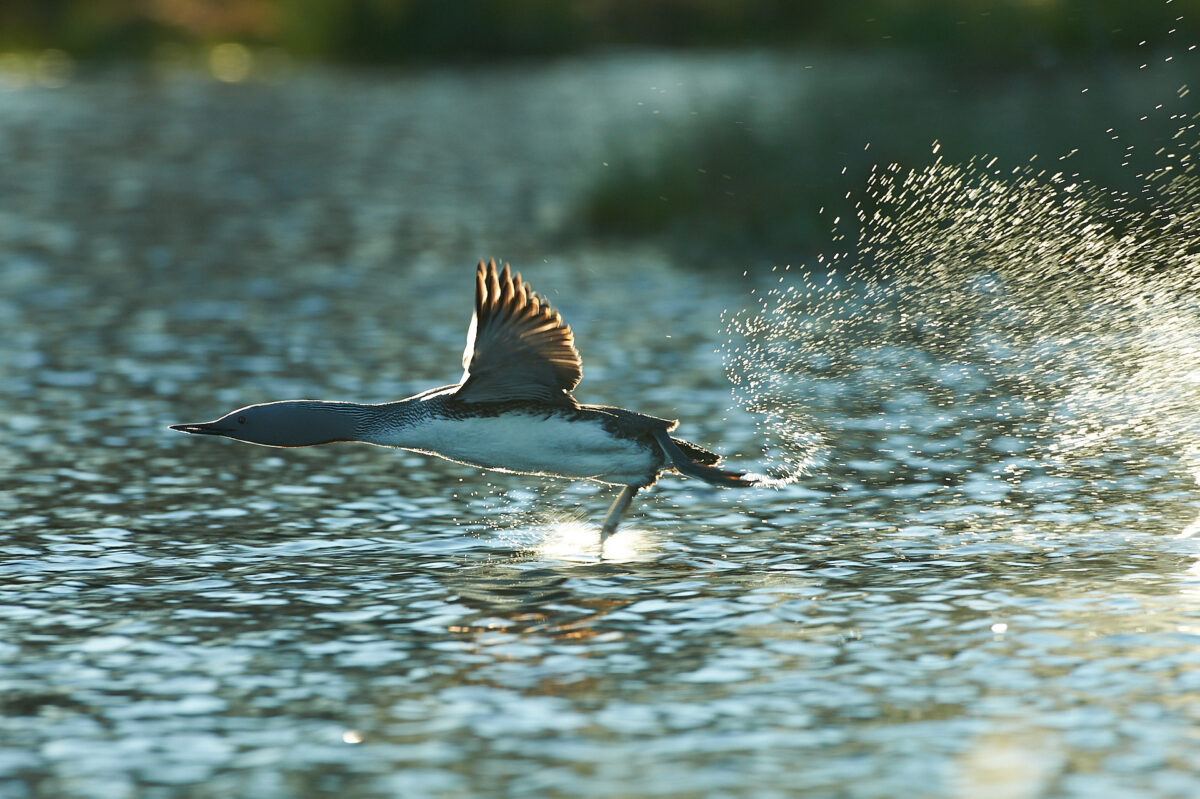
- Light and contrasts: Sometimes a ray of sunlight that falls exactly on the subject is enough to emphasize it. Silhouettes against the light can also be incredibly exciting.
Practical tips for beginners in nature photography
- Less is more: Choose a clear main motif. If too many elements compete in the picture, it quickly looks chaotic.
- Change your perspective: Lie down on the grass or climb a hill. A new angle often changes the whole effect of the picture.
- Patience: Many of my favorite photos were only taken because I waited a long time. Whether an animal appears or the light falls perfectly - good pictures need time.
- Use the light: The light is softer and warmer in the morning and evening. I rarely take photos at midday because the light is harsh and unflattering.
- Practice, practice, practice: the more often you walk through nature with your eyes open, the better you will become at recognizing lines, patterns and compositions.
Avoid common mistakes
Mistakes are part of the process - I've made them all. But that's the quickest way to learn. Here are a few typical pitfalls:
- Central placement: A subject in the middle of the picture often looks static and boring. Try the rule of thirds instead.
- Skewed horizon: Nothing destroys a landscape like a skewed horizon. I now pay attention to it almost automatically.
- Uneven backgrounds: A branch or a bright spot can disturb the whole motif. Before I release the shutter, I always check that the background is clean.
- Putting too much into the picture: I used to always want to photograph "everything". Today, I prefer to concentrate on one strong motif and leave out the rest.
It still happens to me all the time and is completely normal.

Creative approaches to image design
Once you have internalized the basic rules, you can start breaking them. This is often what makes the difference between a good and an exceptional picture. I've experimented a lot myself - some ideas don't work, others still surprise me to this day.
- Symmetries and reflections: A lake that reflects mountains or a puddle after the rain - such motifs have an almost magical effect.
- Macro shots: A dragonfly on a leaf or the structure of a flower open up a whole new world.
- Silhouettes and backlighting: I love it when a tree or an animal appears as a black shape against a colored sky.
- Black and white: Without color, the form comes to the fore. This can be very exciting with foggy landscapes or strong contrasts.
- Unusual formats: Try a square or panorama - sometimes these fit better than the classic landscape format.
I enjoy it most when I consciously play with rules: Sometimes I place a motif right in the center to create calm. Or I overexpose slightly to create a bright, airy mood. Your own style develops over time - dare to try it out.
Conclusion
Image composition in nature photography is not witchcraft, but a question of conscious seeing. When I started out, I was often annoyed that my photos didn't look the way I experienced them. Over the years, I've come to understand this: Technique alone is not enough - it's the composition that makes the difference.
If you use the design rules of photography, such as the rule of thirds, line management or foreground design, you will quickly notice how your nature photos improve. At the same time, you can be creative and break the rules - this is often where the most exciting pictures are created.
My most important advice: practice as often as possible. Walk through nature with your eyes open, pay attention to details and try out different perspectives. Every click takes you further. I have seen for myself how my pictures get better with every exercise - and this process never stops.
So take your camera, go outside and start telling your own stories with nature. Have fun doing it!